Your phone is better at this than you think
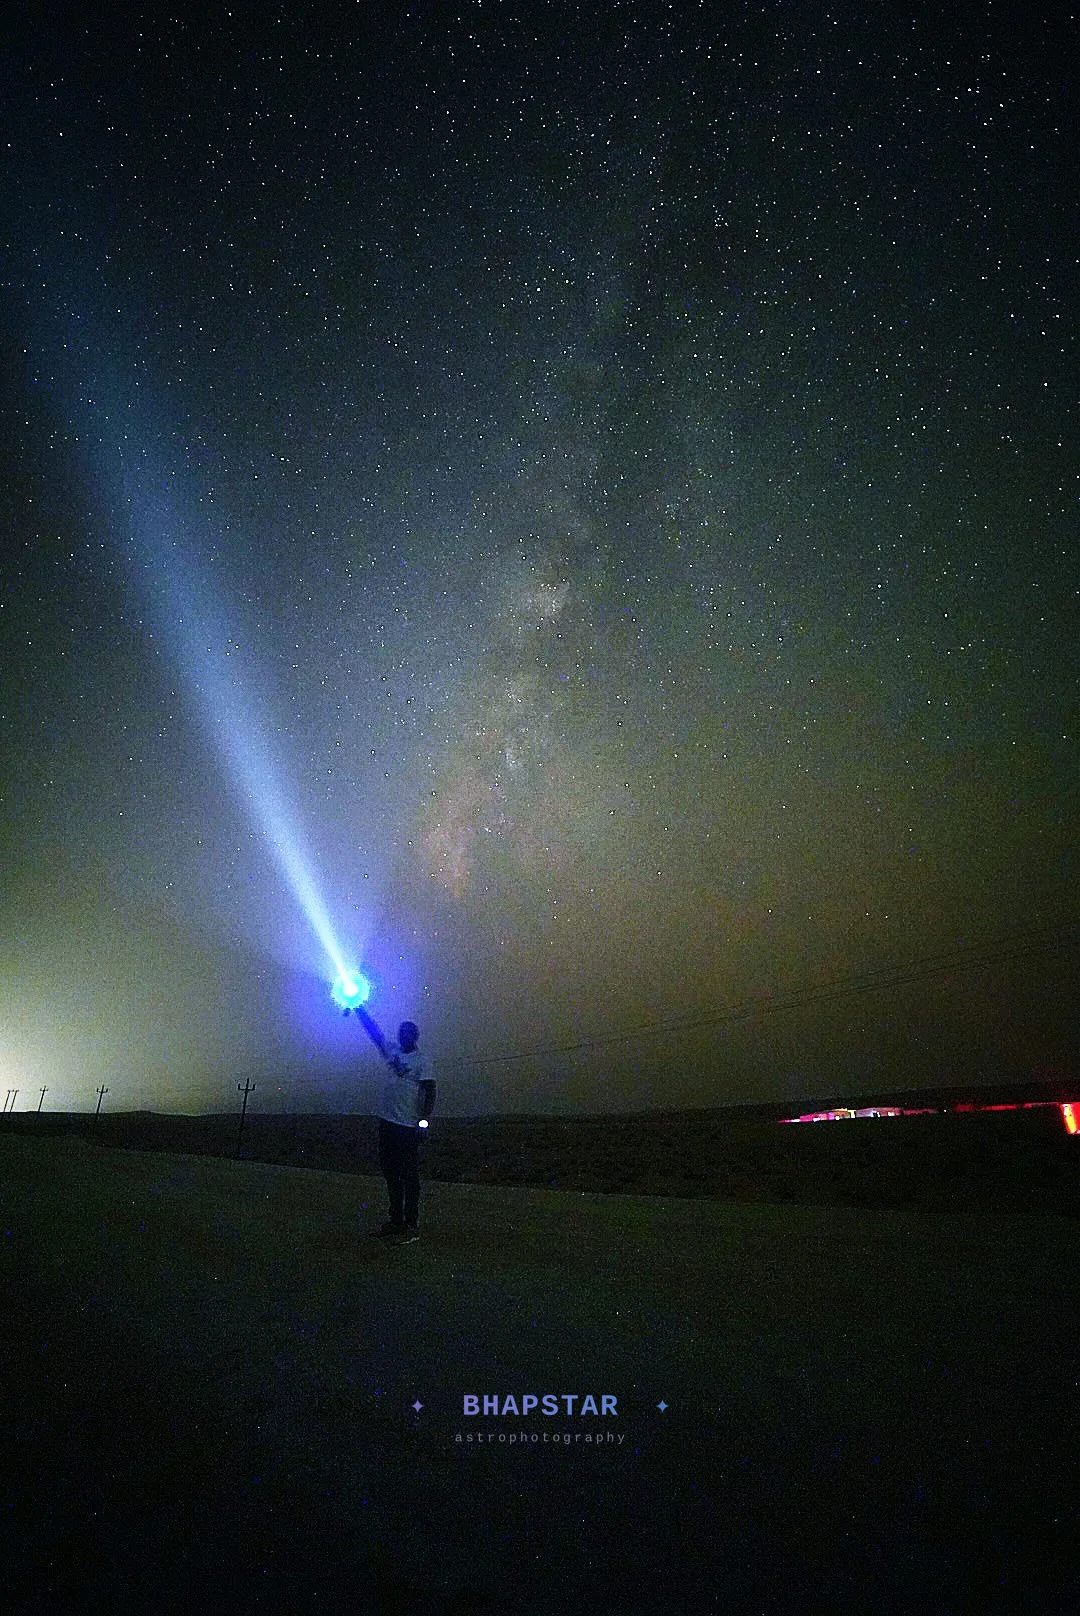
The camera in your pocket will photograph the Milky Way. Not a smudge, not a hint, but the real thing: the bright core, the dust lanes running through it, and enough stars to make people ask what you shot it with. Phone sensors have got good enough over the last few years that this has quietly stopped being a trick and started being something anyone can do on a clear night.
Meteors are the more exciting half of the same evening, and they work a little differently. A meteor lasts a fraction of a second, so it either lands in the frame while the shutter is open or it does not. The bright ones record beautifully, and the Perseids in August throw out plenty of those, including the occasional fireball that draws an audible reaction from everybody watching. The approach is simple: set the phone running and let it collect, then spend the night actually looking up. Whatever the phone catches is a gift on top of the evening you already had.
The happy accident is that both subjects want exactly the same setup. Point the phone at the Milky Way, leave it firing, and any meteor that crosses the frame lands in a picture you were taking anyway.
Two things worth getting right
Almost everything else on this page is optional. These two are what turn a quiet night into a good one, and both are easy.
A small tripod
Every night mode on every phone works by holding the shutter open for seconds at a time, so the phone needs to be still while it does that. A little tabletop tripod with a phone clamp costs very little, fits in a coat pocket and is genuinely all this needs. It is the single best thing you can spend money on for night photography, by a wide margin.
There is a bonus that surprises people. Many phones only unlock their longest exposures once the gyroscope confirms the phone is completely still, so a tripod does not merely sharpen the picture, it hands you a better mode than you can otherwise reach. Put the phone on a tripod and the camera app offers you options you have never seen in it before.
A dark sky, for the Milky Way
For meteors you can get away with a lot, because a bright fireball punches through most skies. The Milky Way is different, and this is the part worth planning around: it needs a genuinely dark site. From a city balcony the sky glow is brighter than the galaxy, and no amount of clever processing recovers something the sensor never saw. From a properly dark site, the same phone in the same hands produces something you will want to print.
The good news is that dark is closer than people assume. An hour or so out of most cities is usually enough to make the difference, and the change is dramatic rather than subtle. Check a light pollution map, pick a direction away from the nearest town, and give your eyes twenty minutes to adjust once you arrive. The Milky Way often becomes visible to the naked eye while you are still setting up, which is the moment most people remember from their first proper dark-sky night.
On an iPhone
There is no dedicated astro mode, but the path to a good frame is short. Open the camera, use the main wide lens rather than the ultra-wide or the zoom, since it has the biggest sensor and the fastest aperture, and put the phone on the tripod. The moon icon appears automatically in the dark, and once the phone knows it is not being held, the exposure slider runs out to around 30 seconds. Drag it to the maximum and tap the shutter.
Turn on ProRAW if your model offers it. It gives you a file with real latitude to brighten later, rather than a processed JPEG that has already decided what the sky should look like. For the Milky Way in particular, this is where a lot of the detail comes from.
The bigger step up is a third-party manual camera app. Several expose ISO, shutter and manual focus directly, and at least one has a mode built specifically for meteors that watches the frame and keeps only the exposures where something changed. That is exactly the right tool for this job, and it costs less than a coffee.
On an Android
If you have a Pixel, you already have the best automatic option on any phone. Open the camera, switch to Night Sight, put the phone on the tripod and leave it alone. After a moment the mode relabels itself as astrophotography and offers an exposure of up to about four minutes, taking a long series of frames and stacking them internally. For the Milky Way this is close to magic. Point it, press the button, and walk away.
On a Samsung, use Expert RAW or the Pro mode in the standard camera, which give you manual shutter up to 30 seconds along with manual ISO and focus. Most other Android phones have a Pro mode somewhere in the camera app that does the same thing, and 30 seconds is plenty for both subjects.
Manual settings, if your phone offers them
Finding the Milky Way, and framing it
The bright part of the Milky Way, the core, is a summer object for the northern hemisphere. From roughly April to September it rises in the south-east after dark and arcs across the southern sky, sitting highest around the middle of the night in mid-summer. August evenings are close to ideal, which is one of the reasons Perseid nights are such good value: the meteors and the galaxy are out together.
Any free stargazing app will show you exactly where it sits from where you are standing, on the night you are standing there. Hold the phone up, find the core, and point the camera at that patch of sky.
Then give the frame something to stand on. A rock, a dune ridge, a tree line or a friend looking up turns a record of the sky into a photograph, and it gives a viewer a sense of scale that pure sky never does. Because you are shooting from one fixed spot for a while, the two minutes you spend on composition at the start pay for the whole session.
Keep it firing
This is the trick behind almost every meteor picture you have seen. One exposure is a lottery ticket, thirty is a decent chance, and a couple of hours is how people come home with the shot. If your phone has a timelapse or interval option that keeps the individual frames, set it going and forget about it. If not, tapping the shutter each time the last frame finishes works perfectly well and costs nothing but a little attention.
The same run of frames does double duty, which is the nicest part. Every one of them is a Milky Way exposure, so even on a quiet night for meteors you go home with the galaxy. Stack them later and you have a cleaner image than any single frame, or line them up in order and you have a timelapse of the sky turning.
Small things that make a real difference
- Clean the lens. A fingerprint you would never notice by day turns every bright star into a smeared halo at night. Ten seconds with a cloth before you start is the cheapest improvement available.
- Use the main camera, not the ultra-wide. The ultra-wide is tempting because it covers more sky, but it has the smallest sensor and the slowest aperture. The main lens gives a cleaner, brighter result.
- Focus to infinity by hand if you can. Autofocus has little to lock onto in the dark. If your app offers a manual focus slider, push it all the way and leave it there.
- Screen brightness down, warm colours on. Your eyes take about twenty minutes to fully adapt, and a bright screen resets that in a second, for you and for anyone sitting near you. Red torch light protects it.
- Bring a power bank. Long exposures and screen-on time drain a phone quickly, and a spare charge is the difference between stopping at midnight and staying for the best hours.
- Watch for dew. On a humid night, condensation creeps onto the lens gradually. If everything suddenly looks soft, give it a wipe and carry on.
Afterwards
Edit on the phone itself, which is more than good enough. Lift the shadows, pull the highlights down, add a little contrast, and lower the temperature slider until the sky reads neutral rather than orange. If you shot RAW there is far more room in the file than you expect, and the Milky Way core usually comes up with one gentle push of the shadows. Keep it restrained: a slightly dark, clean sky looks better than a bright, noisy one.
And when you want to go further than the phone can take you, the camera version of this guide covers the next step.