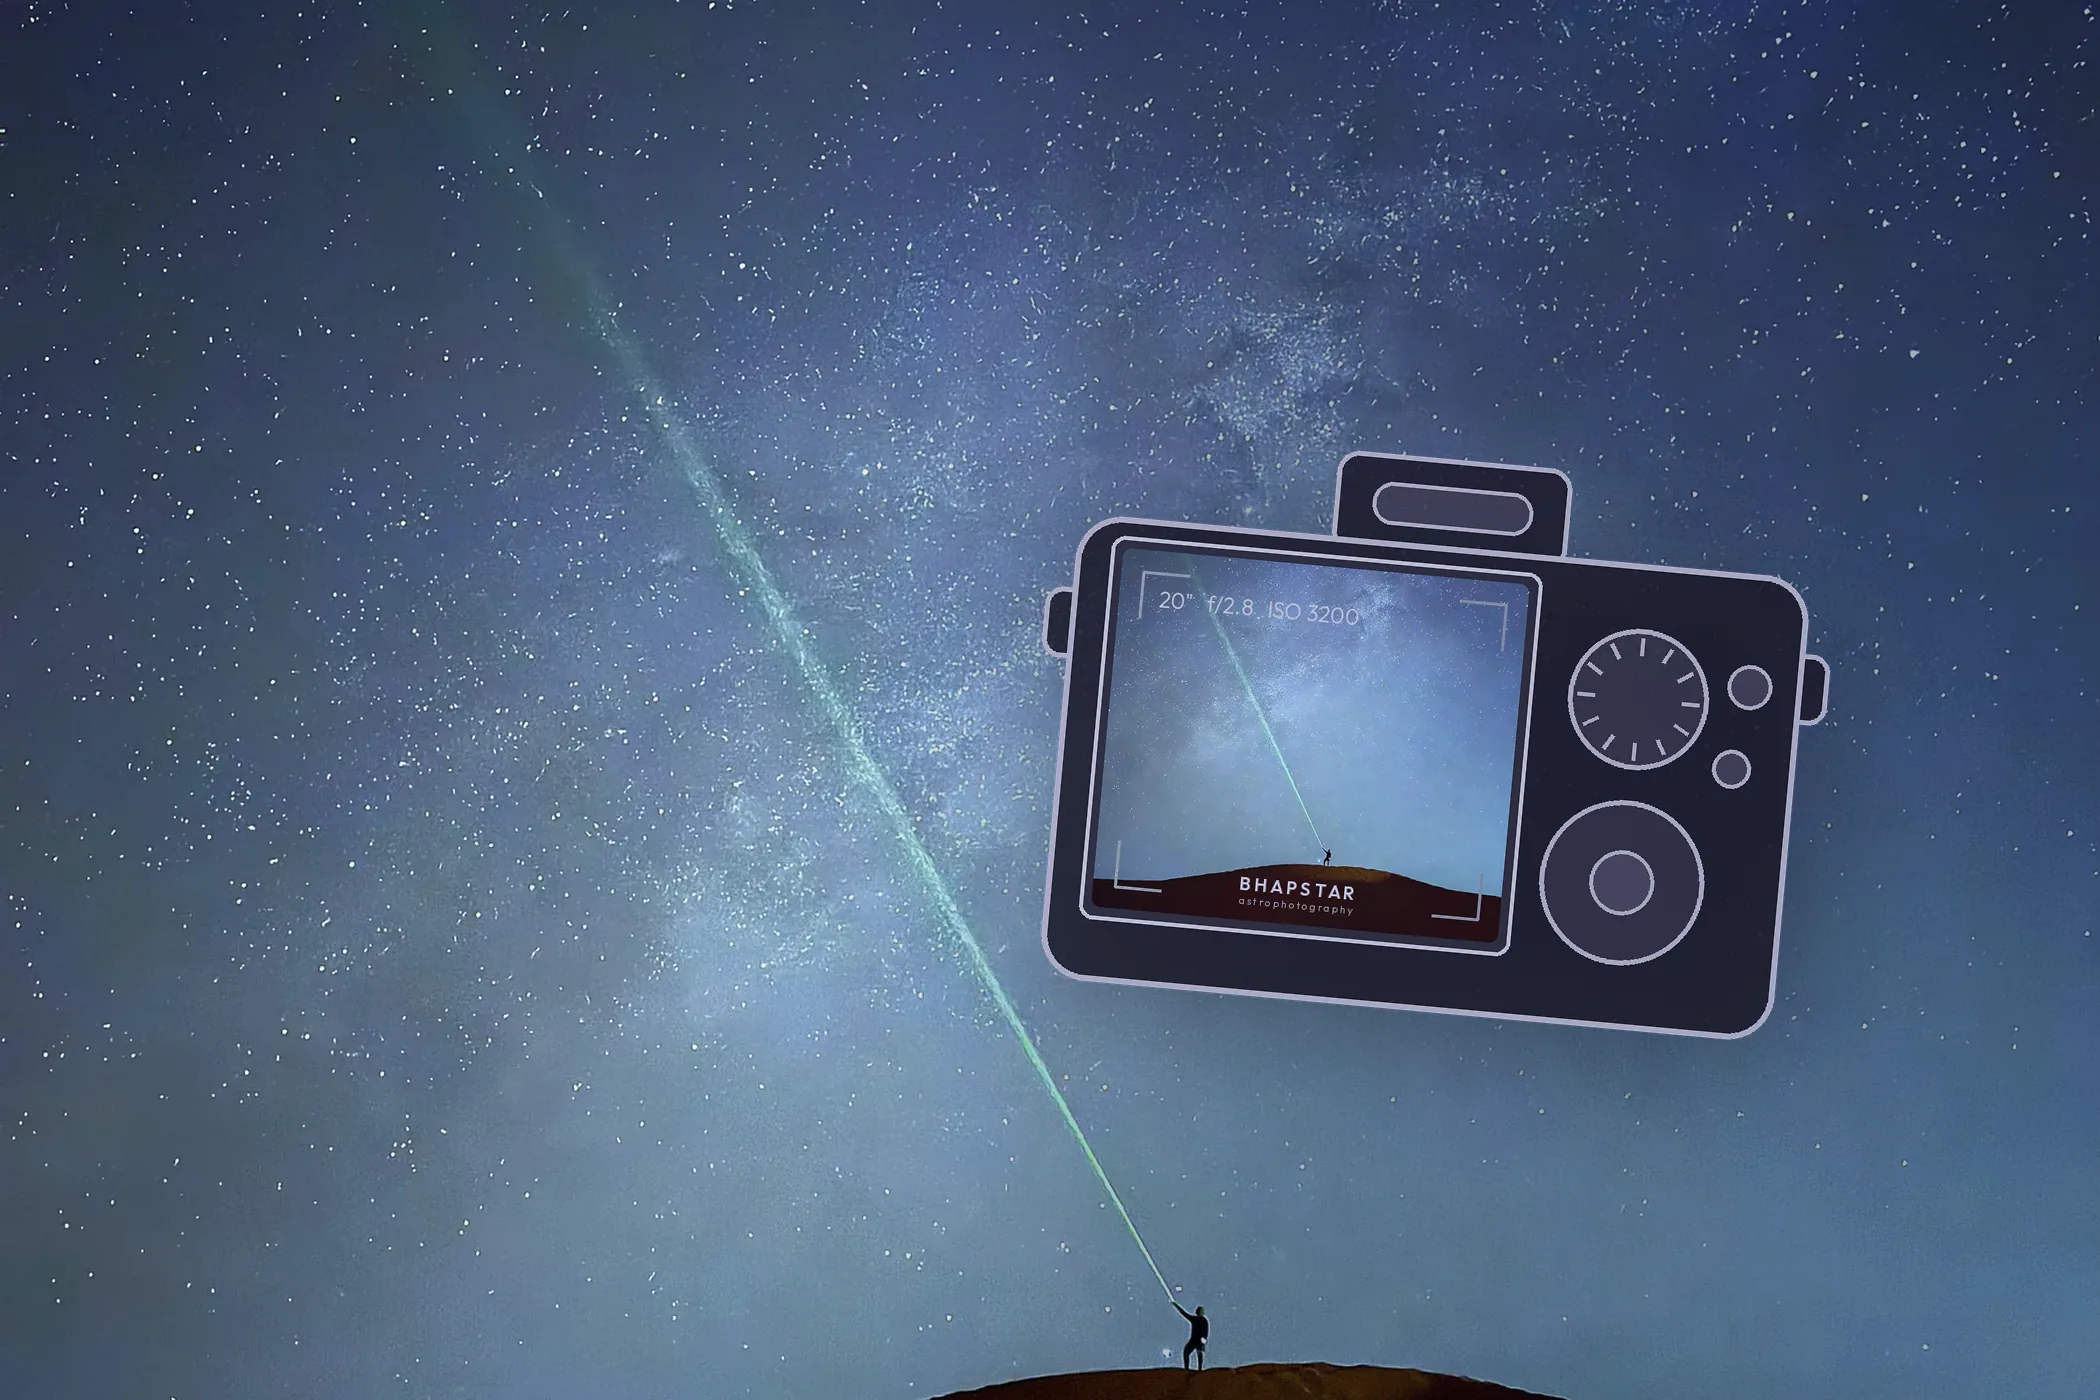
The short version
One wide lens on a tripod, pointed at a dark sky, is the whole technique.
Set the camera to manual, focus on a bright star, and take the same frame over and over for an hour or two. From roughly April to September the bright core of the Milky Way is up after dark. Those same frames will also play back as a timelapse, so one session gives you a picture and a piece of video.
What you need
A camera that shoots manual and RAWThe camera's unprocessed file, holding everything the sensor recorded. A JPEG throws most of that away, and you need it when you come to brighten a very dark picture., the widest and fastest lens you own, and a tripod that will not sag. That is the real list.
Lens choice matters more than the camera body. Wide is better, because it covers more sky and lets you fit the Milky Way above a landscape. Fast is better, meaning a lens whose smallest f-numberThe focal length divided by the width of the lens, written like f/5.8 and often called the f-number. Smaller numbers gather light faster, so you need less time on the target, but focus becomes more critical. is low, because it gathers more light in the time available. Something around 14mm to 24mm at f/2.8 is close to ideal, and inexpensive in manual-focus form.
If your widest lens only opens to f/4, that is fine. You will need a higher ISOHow strongly the camera amplifies the light it has collected. A higher number makes a dark scene look brighter, but it also makes the picture grainier, so you use the lowest number that still shows the sky. to compensate, and the result will be a little noisier, but the picture still works. Use the lowest f-number your lens has, whatever that number is. There is more on the bodies and lenses I use over on the gear pages.
The rest is small: a spare battery or two, a remote releaseA cable or wireless button that fires the shutter for you. Pressing the camera itself shakes it, and at these exposure lengths that is enough to smear the stars. or intervalometerA timer that presses the camera's shutter over and over on its own, so you can take hundreds of frames without touching it. Many cameras have one built into the menus, and if yours does not, a small plug-in remote does the same job. that can be locked on, and a cloth for the dewWater that condenses out of the air onto cold glass overnight and quietly fogs everything. A small heater strip or a cloth hood keeps it off..
A dark site changes everything
This is the single decision that matters most. Under city glow the background sky is brighter than the Milky Way, and no amount of processing brings back what the sensor never recorded. Drive an hour out to a properly dark site and the same camera, the same lens and the same settings produce a completely different photograph.
A light pollutionArtificial light from streets and buildings that scatters in the air and brightens the whole night sky, hiding everything faint. map and a little planning is all it takes, and it is the highest-value hour you will spend on the whole night.
Settings
Set everything manually and then leave it alone. AutofocusA programmed routine through an Electronic Automatic Focuser that refocuses the telescope as the temperature drifts through the night, or at set timed intervals., auto ISO and auto white balanceThe setting that decides whether the picture looks warm and orange or cool and blue. Setting it by hand keeps hundreds of night frames matching each other. all hunt around in the dark, and frames that match each other are what let you combine them later.
| Setting | Use | Why |
|---|---|---|
| Mode | Manual | Nothing should change between frames |
| File | RAW | You will brighten the shadows heavily later |
| ApertureThe size of the opening the light comes through, written as an f number such as f/2.8. Confusingly, a smaller f number means a bigger opening and more light. | The lowest f-number your lens has | Usually f/2.8. If yours stops at f/4, use f/4 and raise the ISO to match |
| ISO | 3200 at a dark site, 1600 to 2500 in the suburbs | High enough to record faint detail, low enough to keep the sky from washing out |
| Shutter | 20 seconds at 14mm, 15 seconds at 18mm | See the chart below for other lenses |
| Focus | Manual, on a bright star | Magnify the live viewThe camera's rear screen showing what the lens is pointed at right now. You can magnify it to check that a star is properly sharp. and adjust until the star is smallest. The infinity mark on the lens is not reliable |
| White balance | Manual, around 4000K | Consistent colour across hundreds of frames |
| Long exposure noise reduction | Off | It makes the camera pause for as long as the exposure itself, halving how much sky you collect |
| Image stabilisation | Off | Stabilisation corrects for shake that is not there on a tripod, and can add a small wobble of its own |
| Drive | Continuous, with the remote locked on | Shoot without pausing for hours |
How long can the shutter stay open before stars start trailing?
The Earth turns, so stars drift across the frame. Leave the shutter open too long and they stop being points and become short dashes. Wider lenses tolerate longer exposures.
There are two common rules of thumb. The older 500 rule is generous; the newer NPF ruleA formula for the longest exposure you can use before stars stop being points and start being short lines. It takes account of the lens, the aperture and the size of the pixels, so it is stricter than the older 500 rule. is stricter and holds up better on a modern sensor. Both are shown below for a 24-megapixel full-frameA camera whose sensor is the size of an old 35mm film frame. Bigger sensors gather more light, which is why they cope better in the dark. camera.
Composition
A frame of nothing but sky is a technical record. Put something along the bottom of it, a tree line, a dune ridge, a building edge, or a person looking up, and it becomes a photograph.
Spend five minutes on this before you start, because you will be shooting hundreds of frames from one fixed position and the composition you choose at the beginning is the one you keep. In summer, framing towards the south puts the Milky Way coreThe bright, crowded middle of our own galaxy, seen edge on. From the northern half of the world it sits low in the south in summer. in the scene.
Then start the intervalometer and leave the camera to it. There is nothing to watch and nothing to adjust. Lie back and enjoy the sky while it collects.
Turning the same night into a timelapse
Here is the part that surprises people. You have already shot it. A night timelapse is the frames described above, played back in order instead of combined into one picture. No extra equipment, no different settings, one extra decision.
The one setting that changes: the interval
The intervalometer needs to know how long to wait between frames. Set that gap to your shutter speed plus one or two seconds, and no more.
The extra second or two lets the camera finish writing the file before the next frame starts. Any longer and the stars jump visibly between frames instead of gliding, because the sky kept moving while your shutter was closed. A 20 second exposure with a 2 second gap gives you a frame every 22 seconds, and that reads as smooth motion.
This is also why Long Exposure Noise Reduction has to stay off. It makes the camera pause for as long as the exposure itself, which doubles your interval and turns smooth drift into a stutter.
How long you need to shoot
Video plays back at 24 or 25 frames a second, which is a brutal exchange rate. Every ten seconds of finished video costs you 250 frames. At 22 seconds a frame, that is an hour and a half of standing in the dark.
| Time shooting | Frames at 22s each | Playback at 25fps |
|---|---|---|
| 30 minutes | about 82 | 3 seconds |
| 1 hour | about 164 | 6.5 seconds |
| 2 hours | about 327 | 13 seconds |
| 3 hours | about 490 | 19.5 seconds |
| 4 hours | about 654 | 26 seconds |
Two hours is a sensible first target. Thirteen seconds sounds short written down, but it is a long time to hold someone's attention on a shot of the sky, and it is more than enough to see the Milky Way rotate through the frame.
What to check before you walk away
- Battery. Four hours of continuous exposures will finish most batteries. Bring two spares, or run the camera from a USB power bank if the body supports it. Swapping a battery mid-run is fine, because the camera has not moved.
- Card space. Five hundred RAW files is somewhere between 15GB and 40GB depending on the camera. Check before you drive out, not after.
- Everything manual. Auto ISO, auto white balance and autofocus all make small decisions between frames, and small decisions become visible flicker at 25 frames a second. This is the same rule as the settings table, and it matters more here than anywhere else.
- Dew. Over three hours condensation will creep onto the lens gradually, so the last third of the sequence goes soft while you are asleep in the car. A cheap USB lens warmer solves it permanently.
- Tripod legs. On sand or soft ground the tripod settles slowly under its own weight, and the horizon drifts down over an hour. Press the legs in firmly before you start.
Assembling it
Any video editor will import a numbered image sequence and treat it as a clip, which is the whole job. Export the RAW files as JPEGs at your final size first, apply the same edit to every one of them, then drop the folder into the editor.
Applying one identical edit to the whole run is the important part. Editing frames individually is what causes flicker. If you do get a subtle pulse in brightness, most editors have a deflicker filter, and LRTimelapse is the dedicated tool if you end up doing this often.
The same folder also stacks into a star trailA picture where the stars are drawn as long arcs rather than points, made by leaving the shutter open, or by stacking a long run of frames end to end., where the stars draw curved lines instead of moving. That is a second finished image from files you already have.
Afterwards
You will come home with several hundred near-identical frames. That is a rich set of material rather than a chore, and there are three good things to do with it.
Combine them into one cleaner Milky Way image. Averaging many frames together is what removes the grainy noise, and the difference is large.
Stack the whole run into a star trail, where the stars draw curved lines as the Earth turns. A free second image from files you already have.
Play the sequence as a timelapse, as described above. Three separate results from one night of standing still.
All of it processes happily in Siril, which is free.
If a meteor shower happens to fall on the night you are out, nothing here changes: the setup above is already the right one, and every frame you have taken is a chance at catching one. There is more on which showers are worth planning around, and which way to point, in the meteor shower guide. And if all you have on the night is the phone in your pocket, that works too.