The short version
A folder of raw subframesOne single exposure out of the many that get stacked together. Sixty subs of one minute each make one hour of data. goes in, a finished image comes out, and the order matters.
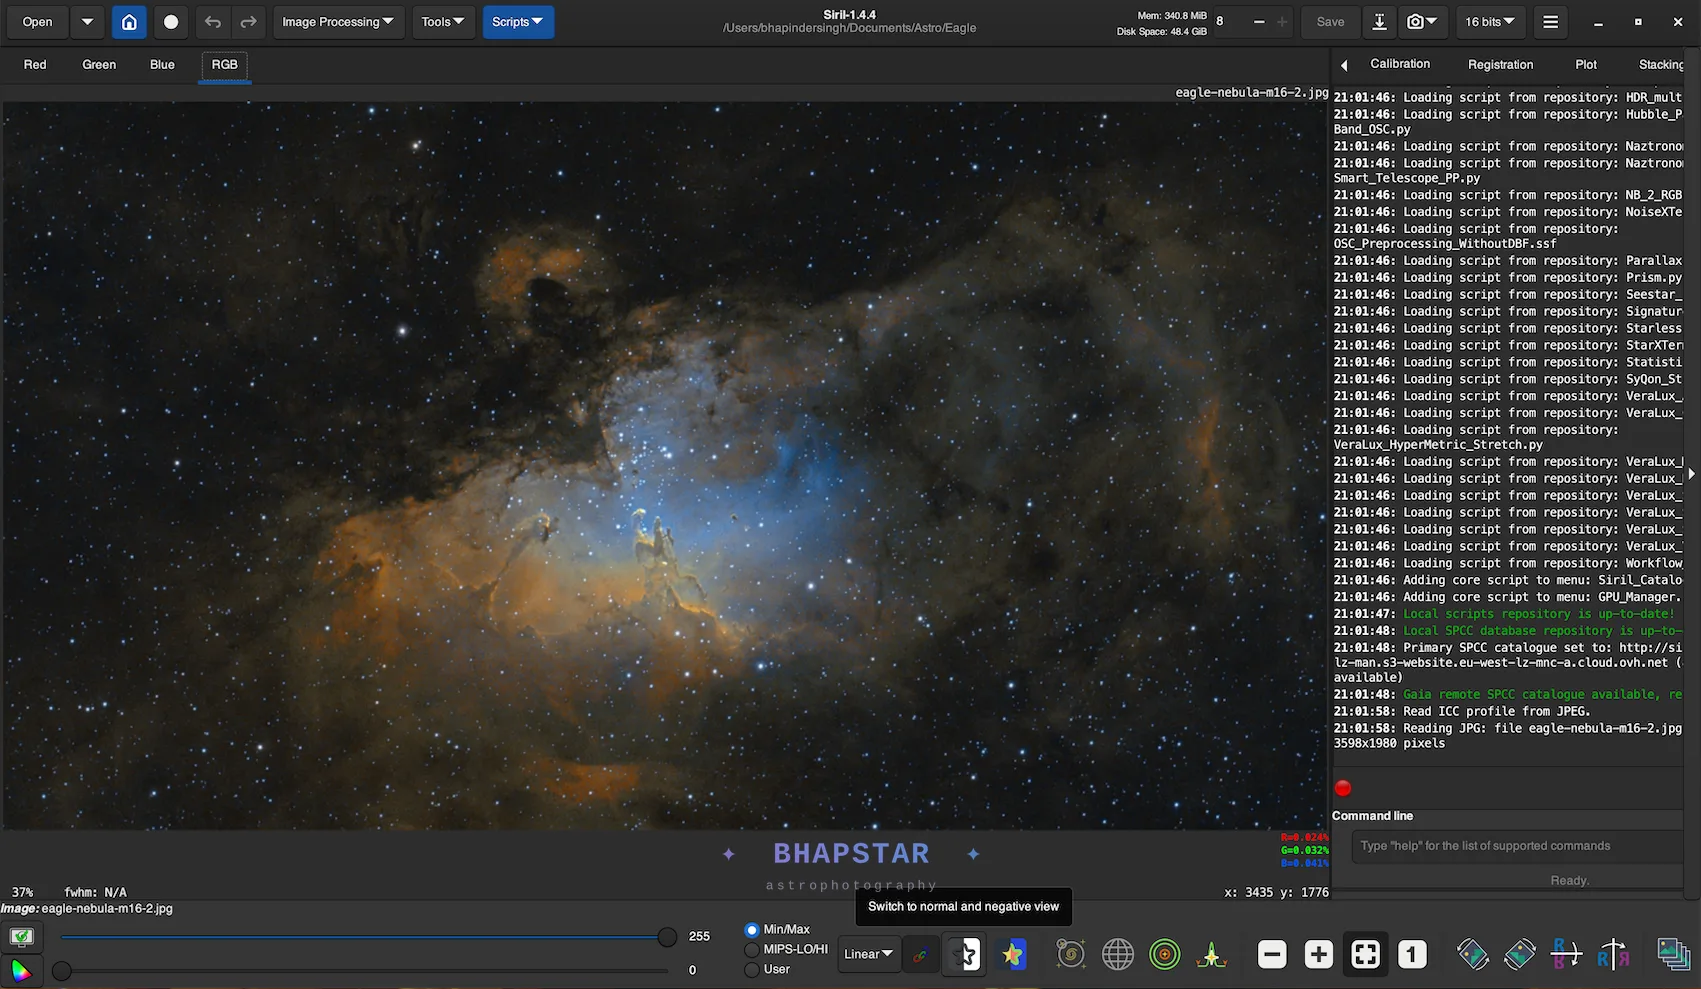
Siril is free, open source, and as good at calibrating and stacking as the paid alternatives. That first half runs unattended from a script. The work you do by hand comes afterwards, and several of those steps only behave correctly while the data is still linearHow an image comes out of stacking, with the numbers still in proportion to the light that arrived. It looks almost black on screen until it is stretched., which is why the order on this page matters more than any single step in it.
Why Siril
Siril is free, open source, runs on Windows, macOS and Linux, and will take a folder of raw subframes all the way to a finished image without a subscription or a licence key. It is not a cut-down version of anything. The stacking engine and the calibration are as good as the expensive alternatives; what you give up is polish and a certain amount of hand-holding.
Every image in the gallery went through it. This is the route I take, in order, and the order genuinely matters — several of these steps stop working correctly if you do them after stretching.
You can download it from siril.org, which is also where the documentation and the tutorials live. It is a proper open source project rather than a free trial: the source is public, the algorithms are published, and there is nothing held back for a paid tier.
The pipeline
The row you can automate
Siril ships with scripts, and for a one-shot-colour camera the
OSC_Preprocessing script does the entire first row unattended. Put
your subframes in folders named lights, darks,
flats and biases, point Siril at the parent folder, run
the script and go and make tea. It calibrates, demosaics, registers, rejects the
frames that are worse than the rest, stacks, and leaves a single linear result
behind.
There is a drizzleA stacking method that uses the tiny shifts between frames to recover a little more real detail than a single frame holds. variant worth knowing about. If your pixels are large relative to the seeing and you ditheredShifting the aim by a few pixels between frames on purpose. Faults in the sensor then land somewhere different each time and average away in the stack. properly during capture — which the ASIAir does for free — drizzling recovers real resolution rather than merely resampling. If you did not dither, it does nothing useful.
What each calibration frame is for
- DarksAn exposure with the lens capped, the same length and temperature as your real ones. It records the heat noise and the stuck-on bright pixels, so they can be subtracted. record the sensor's own signal — thermal noise and hot pixelsA pixel that reads bright whether or not any light reached it. Dark frames record where they are so they can be taken out later. — at the same exposure, gainThe same idea as ISO, but on an astronomy camera. More gain gives a brighter frame with more grain in it. and temperature as your lights. A cooled camera makes these reusable for months, which is one of the quieter arguments for cooling.
- Flats record the optical path: vignettingThe corners of the frame coming out darker than the middle, because less light reaches the edges of the sensor., dust motes, uneven illumination. Shoot them at the end of the session, before anything is moved or rotated. An evenly lit white screen or the dawn sky both work.
- Biases record the sensor's read floor. They take a fraction of a second each, so take plenty.
If you take nothing else, take flats. Missing darks costs you some noise. Missing flats costs you a corner-darkened frame with dust shadows that no amount of later processing will convincingly hide. There is a whole write-up on calibration frames covering how to take each one and the handful of rules that make flats go wrong.
The stretch
Everything up to this point has been arithmetic. The stretch is where the image appears, and it is the step most worth spending time on. Astronomical data is overwhelmingly dark: almost every pixel sits within a whisker of black, with a handful of stars far out to the right. A screen cannot show that range, so you compress the bright end and expand the dark end until the nebula lifts clear of the background.
Siril's histogramA chart of how many pixels in the picture are dark, middling and bright. It tells you at a glance whether an exposure is about right. transformation with its autostretch preview is the quick route. The generalised hyperbolic stretch is the better one: it gives you separate control over where the stretch is centred and how hard it bites, so you can lift faint nebula without inflating every star into a white disc.
The steps people get wrong
- Stretching before background extractionThe processing step that measures that uneven glow across the frame and removes it, leaving an even sky behind the target.. Gradients from streetlights or moonlight are additive and roughly smooth while the data is linear. Once stretched they are neither, and the extraction can no longer model them.
- Colour calibrating too late. Run SPCCSpectrophotometric colour calibration. It compares the stars in your picture against a catalogue of real measured star colours, and sets the colour balance from that rather than from taste. on linear data. It plate-solvesThe software takes a quick test frame, matches the pattern of stars in it against a catalogue, and works out exactly where the telescope is really pointing. It then nudges the mount onto the target. the frame, looks up the actual stars in your field, and sets the colour balance from real spectra rather than from what you think looks right.
- Too much deconvolution. It is the fastest way to make an image look processed. Small amounts, on linear data, and stop before it starts ringing.
- Denoising early. Noise reduction is close to last. Applied early it removes the faint detail you spent all night collecting.
Stars, and knowing when to stop
StarNetA tool that separates the stars from everything else in the picture, so the nebula and the stars can be worked on separately and put back together. separates a stretched image into a starless version and a star mask. That lets you stretch the nebula hard without the stars swelling, then recombine them at whatever weight looks right. It is the single biggest step up in the look of an image once the fundamentals are in place, and it is also the easiest thing to overdo — a nebula with no stars in front of it stops looking like a photograph.
The last thing to say is that more integrationThe total time of every frame added together. Three hours of integration might be one hundred and eighty frames of one minute. beats better processing, every time. Six hours of subframes processed carelessly will out-perform one hour processed brilliantly. If an image is fighting you, the answer is usually another night on the same target rather than another hour at the keyboard.