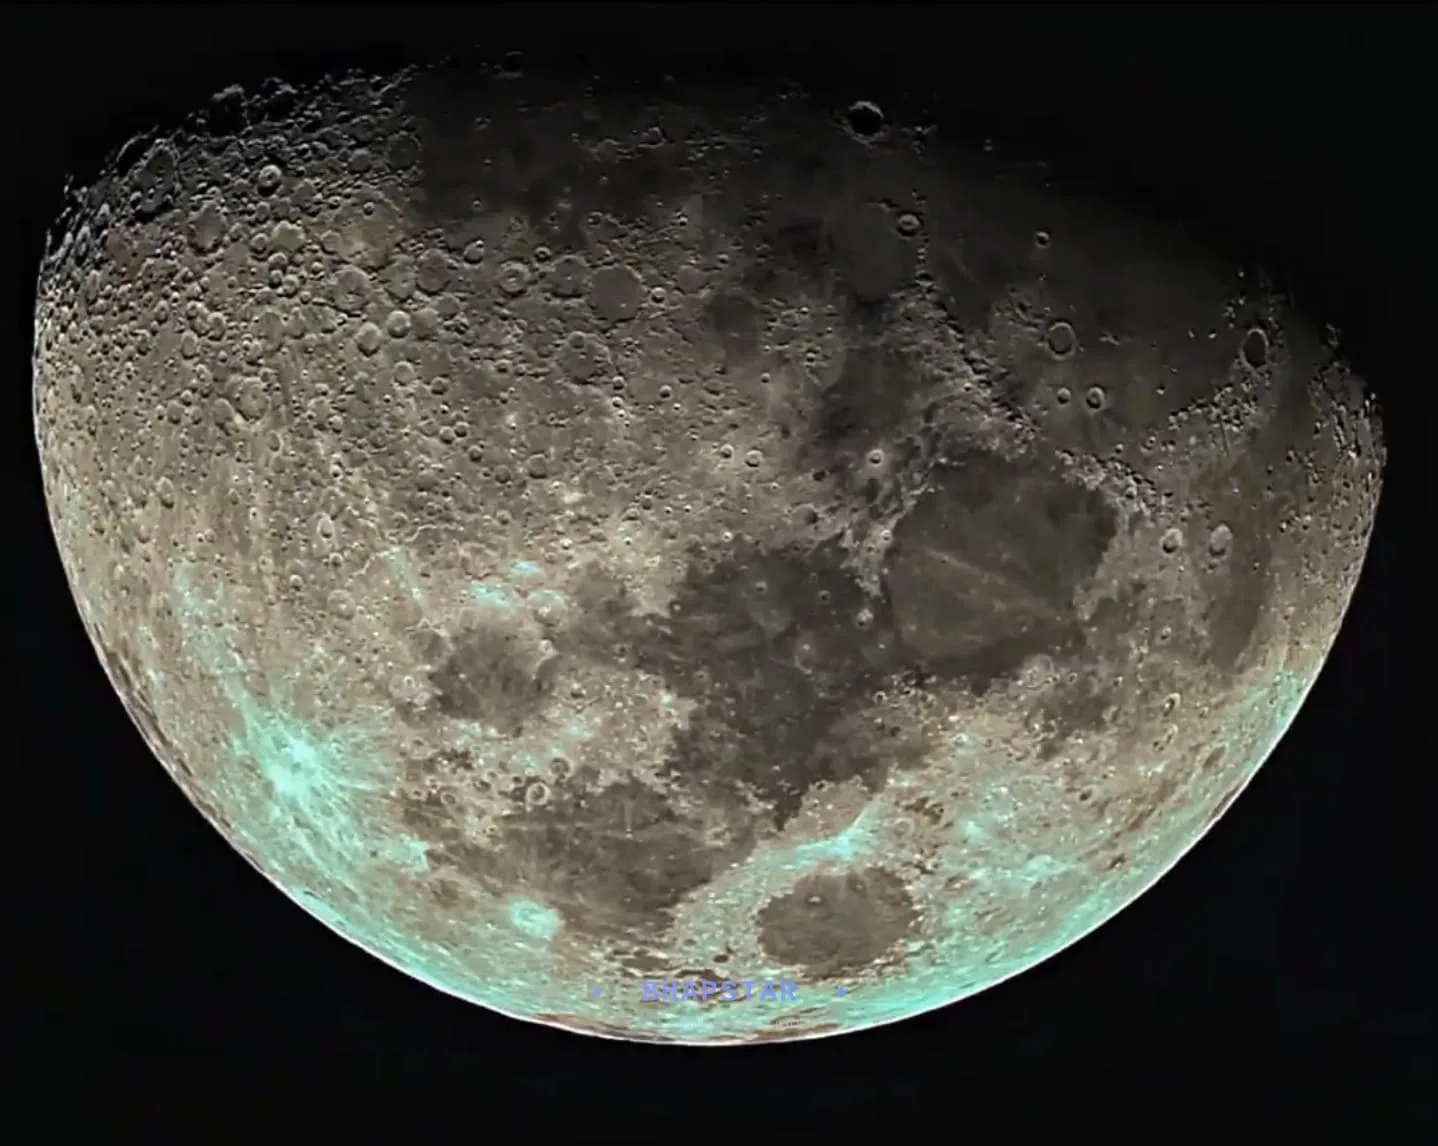
The short version
The Moon is the one thing you can photograph from wherever you are standing, with no dark sky and nothing that tracks.
It is bright enough to cut through a city sky and big enough that a phone will get a recognisable picture of it. On roughly half the nights of any month it is sitting in the evening sky waiting for you, and the section below tells you in ten seconds whether tonight is one of them. The mistake nearly everyone makes on the first try is treating it as a night subject. It is a sunlit rock, and once you expose it like something in daylight it stops being a white blob and turns into a landscape.
Why this is the right place to start
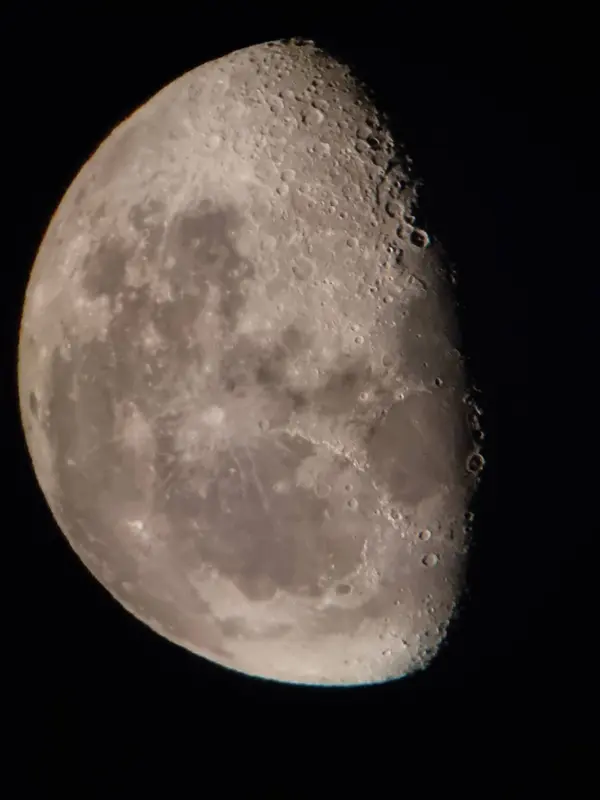
Almost everything else on this site asks you for something first. The Milky Way wants a drive out of the city and a week without moonlight. Nebulae and galaxies want a mount that follows the sky, and hours of patience, and software afterwards. All of that is worth doing, and none of it is where you should begin.
The Moon asks for none of it. It is the only target I can photograph from a Bortle 8 balcony on an ordinary night with nothing bolted to the front of anything. City glow does not touch it, because the Moon is enormously brighter than the sky it sits in. Haze barely touches it. A half moon at a decent height will out-argue a whole city.
The other reason is feedback. A deep-skyAnything beyond our own solar system: nebulae, galaxies and star clusters. Faint, far away, and the reason for long exposures. photograph takes hours before you know whether it worked. The Moon appears on your screen a second after you press the button. You can try a setting, look, change it, and try again, twenty times in ten minutes. That is the fastest way anyone learns exposure and focus, and both of those skills transfer to everything else you will ever point at the sky.
Is the Moon up tonight?
Worth answering before you carry anything outside, because the Moon does not sit in the sky waiting to be used. It keeps its own timetable, and it is a timetable you can learn once and then predict for the rest of your life.
Two facts do all the work. The Moon rises about fifty minutes later each day than it did the day before, so over a month it works its way right around the clock. And the phase tells you the time: a full Moon rises at sunset, a first quarter Moon is already high when it gets dark, and a new Moon rises and sets with the Sun, which is exactly why nobody has ever seen one.
Which gives three possible answers, and only one of them is bad news.
It is up in the evening
Anywhere from a couple of days after new moon through to a day or two after full. The Moon is already there when the sky goes dark, it stays up for hours, and you do not have to plan anything. This is about half of every month, and if you are in it, stop reading and go outside.
It is up, but late
From a few days after full until it vanishes again. The Moon has become an early hours object, rising later each night until it is only there shortly before dawn. This is still excellent, and the phase is a good one for surface detail, but it wants either an alarm clock or a very late night.
It is not up at all
For three or four nights around new moon the Moon is in the daytime sky, drowned in sunlight. There is nothing to photograph and no setting that fixes it. This happens once a month, to everybody.
Those nights are not a lost week, though. They are the opposite. A sky with no Moon in it is a dark sky, and those handful of nights are exactly what the rest of astrophotography spends the month waiting for. If you have arrived here on a new moon night, go and photograph the Milky Way instead, with a phone or a camera, and come back in three or four nights when a thin crescent appears low in the west after sunset. The two halves of the month are for different things. Neither one is the consolation prize.
The one thing everyone gets wrong
The Moon is lit by the same Sun that lights your street at midday. It is not a faint object. It only looks faint because it is surrounded by black, and every camera ever made looks at that black and decides the scene is dark.
So it opens the shutterHow long the camera collects light for one frame. Twenty seconds means the sensor is gathering light for twenty seconds before the frame is saved., and pushes the sensitivity up, and hands you a featureless white circle. Nothing is broken. The camera did exactly what you asked. You have to tell it that the thing you care about is the bright part, not the sky.
There is an old rule that gets you close on the first try, and it is worth knowing because it makes the point better than any explanation. Set the apertureThe size of the opening the light comes through, written as an f number such as f/2.8. Confusingly, a smaller f number means a bigger opening and more light. to f/11 and the shutter to one over your ISOHow strongly the camera amplifies the light it has collected. A higher number makes a dark scene look brighter, but it also makes the picture grainier, so you use the lowest number that still shows the sky. number. At ISO 200 that is one two-hundredth of a second. That is a daylight exposure. It is called the Looney 11 rule, and the reason it works is that the surface of the Moon is a sunlit landscape, photographed from a long way away.
Start there and adjust from what you see. A crescent needs a little more light than a full Moon, because you are looking at the surface at a low angle.
With a phone, on its own
Point a phone at the Moon and you will get a small bright dot in a lot of black. That is not the phone failing, it is the focal lengthHow much a lens or telescope magnifies, measured in millimetres. A small number gives a wide view of the sky, a large number a narrow, closer one.. A phone lens is very wide, and the Moon is half a degree across, so it lands on a few dozen pixels.
You can still make it work, and the trick takes about five seconds. Tap the Moon on the screen and hold until the exposure locks. Then drag the little sun or slider that appears downwards, a long way down, until the disc stops glowing and you can see grey markings on it. Those markings are the mariaThe large dark patches on the Moon, which are ancient lava flows rather than seas. Early astronomers named them seas before anyone knew better, and the name stuck., the dark lava plains that make up the face people see. Zoom with the phone's proper telephoto lens if it has one, not the digital zoom.
What you get is a small, honest picture of the Moon. Good enough to send to someone. Not good enough to print. For that you need something with more reach in front of it.
With a phone, held to an eyepiece
This is the cheapest large jump in the whole hobby. If you have any telescope or even a pair of binoculars, put a low power eyepieceThe small lens you put your eye to at the back of a telescope. Swapping it for another one changes how much bigger everything looks. in, find the Moon, focus it by eye, and then hold the phone camera right up against the eyepiece.
It is fiddly for the first minute and then it clicks. Some things that help:
- Use the main camera lens, not the ultra-wide and not the zoom.
- Get the phone square to the eyepiece and close to it. A dark ring around the image means you are too far back.
- Tap the bright disc to focus and lock, then drag the exposure down until detail appears.
- Take a burst rather than one shot. Most will be soft, one will be sharp.
- A cheap phone clamp that screws onto the eyepiece removes the shaking entirely and is worth having if you plan to do this more than once.
A smart telescopeA sealed telescope with the mount, camera and processing built into one body, run from a phone. It finds the target, tracks it and stacks the frames on its own. shortcuts all of this. The box has its own mode for bright targets that drops the exposure right down and tracks the Moon while you watch it on the phone, and it will hand you a better lunar picture in two minutes than most people manage in their first month. The Seestar S30 Pro is the one I use, and the Moon is the target it looks most impressive on straight out of the box, because aperture matters far less here than it does on a faint galaxy.
With a camera and a lens
This is where the Moon starts becoming a photograph rather than a snapshot, and the only variable that really decides how good it can be is how long the lens is.
The Moon is half a degree wide. That never changes, whatever you own. So the entire question is how much of your sensor that half degree covers, and the answer scales directly with focal length. At 100mm it is a dot. At 400mm it is a disc you can crop into. Past about 1000mm it becomes the picture.
A smaller sensor helps, because it crops into the middle of the same image. A crop-sensor camera shows the Moon about half again as large in the frame as a full-frameA camera whose sensor is the size of an old 35mm film frame. Bigger sensors gather more light, which is why they cope better in the dark. one at the same focal length, and a small dedicated astronomy camera larger still. My Askar V works out at 496mm, which on a full-frame body would be a modest disc, but on the small sensor of the ASI585MC the Moon takes up most of the short side of the frame.
Settings to start from
| Setting | Start at | Why |
|---|---|---|
| Mode | Manual | Any automatic mode meters the black sky and overexposes the Moon. |
| Aperture | f/8 to f/11 | Most lenses are at their sharpest a stop or two down from wide open. |
| ISO | 100 to 200 | There is plenty of light. Low ISO means a cleaner file. |
| Shutter | One over the ISO number | Looney 11. Then adjust by eye. |
| Focus | Manual, magnified on screen | The infinity mark on a lens is rarely actually infinity. |
| File type | RAWThe camera's unprocessed file, holding everything the sensor recorded. A JPEG throws most of that away, and you need it when you come to brighten a very dark picture. | Keeps the detail in the bright areas that a JPEG throws away. |
| Drive mode | Burst of twenty or more | The air is moving. Some frames will be sharper than others. |
| Stabilisation | Off, on a tripod | It can introduce the shake it is trying to remove. |
Two of those deserve a sentence more. Focus is the difference between a good lunar picture and a wasted evening, and autofocusA programmed routine through an Electronic Automatic Focuser that refocuses the telescope as the temperature drifts through the night, or at set timed intervals. struggles on a bright object in a black field. Switch to manual, magnify the live viewThe camera's rear screen showing what the lens is pointed at right now. You can magnify it to check that a star is properly sharp. as far as it will go, put a crater edge or the terminator in the middle, and turn the ring until the shadows snap. Check it again after half an hour, because a lens changes focus slightly as it cools.
And notice what is not on that list: tracking. At a shutter speed of one two-hundredth of a second the sky has not moved enough to matter. A tripod, or even a wall, is enough. That is the whole reason this is the first thing you should photograph.
Choose the night before you choose the gear
The full Moon looks like the obvious night to shoot, and it is the worst one. At full, the Sun is almost directly behind you, so every shadow on the surface is falling away from you where you cannot see it. The face goes flat and bright, like a photograph taken with a flash.
What you want is the terminator, the curved boundary between the lit and unlit halves. Along that line the Sun is barely above the local horizon, so every crater rim throws a shadow that runs for miles. Mountains stand up. Craters look like craters instead of pale rings. The same telescope on the same night shows twenty times more here than it does at full.
Which gives you a simple planning rule:
- Days 3 to 11 after new moon. The Moon is in the evening sky, already up when it gets dark, and the terminator crosses the face. This is the easy window and it is the one to aim for.
- Days 18 to 26. Just as good, and less crowded, but the Moon rises late and is best in the hours before dawn.
- A thin crescent, one or two days either side of new. Low in twilight, beautiful with a building or a dune in the frame, and often accompanied by earthshineThe faint glow on the unlit part of a crescent Moon. It is sunlight that has bounced off Earth and lit the Moon's night side., which is sunlight bounced off Earth faintly lighting the unlit part.
- Full moon. Fine for a rising-moon landscape shot. Poor for surface detail.
Put that together with the timetable further up and you have the whole planning problem solved. Days 3 to 11 are both the best nights for detail and the easiest ones to be awake for, which is why they are the window to aim at. Any free planetarium appA program that draws the sky as it appears from a chosen place at a chosen time, and lets you run time forwards and backwards. Used for working out what is visible before going outside. will tell you tonight's phase and rise time where you are standing. If you would rather plan properly than glance, the same Stellarium routine that works for deep sky works here.
The air is the thing that limits you
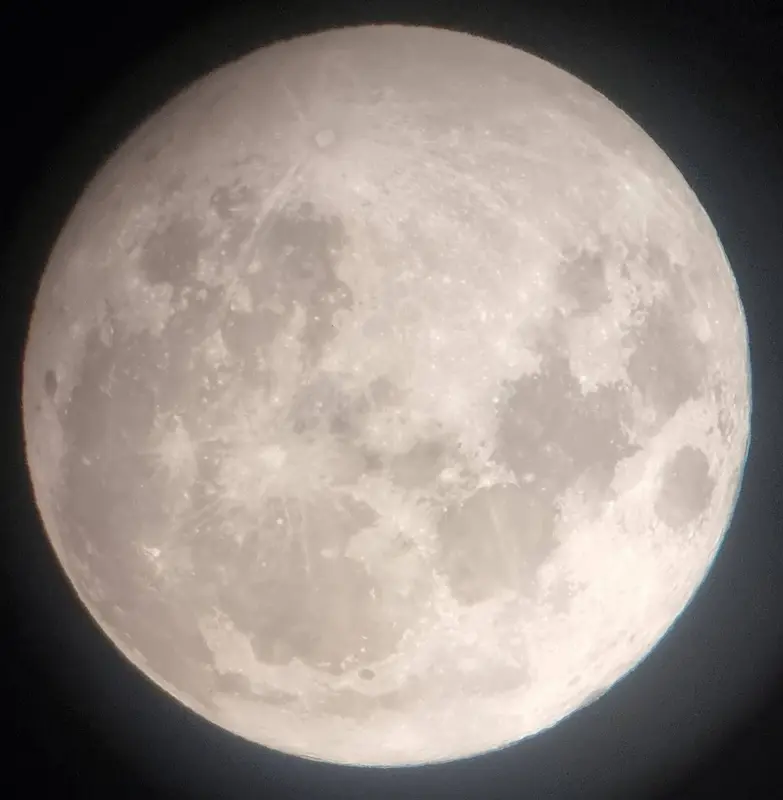
Once you have enough focal length, the sharpness of a lunar picture is decided by the atmosphere rather than by your equipment. You are photographing through about a hundred kilometres of moving air, and that air bends the light slightly and constantly. Astronomers call how steady it is the seeing, and it varies from night to night far more than most people expect.
You can see it happen. Look at the Moon through any telescope and it will appear to ripple, like something at the bottom of a swimming pool. On a good night the ripple almost stops. Nothing you buy will fix a bad night, but a few habits genuinely help:
- Wait until the Moon is high. Near the horizon you are looking through several times more air. Thirty degrees up is a reasonable minimum, and higher is better.
- Do not shoot over a hot surface. A rooftop, a road or an air conditioning unit that has been baking all day pours heat upwards all evening, and that rising air wrecks the view more thoroughly than light pollutionArtificial light from streets and buildings that scatters in the air and brightens the whole night sky, hiding everything faint. ever will. In a city this matters more than anything else on this list.
- Give the equipment time. A telescope carried out from an air conditioned room has its own currents inside it until it reaches the outside temperature.
- Take far more frames than you need. The air is not equally bad every moment, and some of your frames caught it holding still.
Getting more detail than any one frame holds
That last point is the whole basis of how sharp lunar and planetary pictures are made, and it costs nothing to try. Instead of one careful photograph, record a burst or a short video. Then throw away the soft frames, keep the sharpest, and average those together. Averaging reduces the grain, which lets you sharpen much harder afterwards without the picture falling apart.
People call it lucky imagingRecording hundreds or thousands of very short frames, then keeping only the sharpest ones and averaging them. It works because the air is not equally unsteady every moment., which is a fair description. You are waiting for the moments when the air happened to be still and letting software find them for you.
You can do the stackingCombining many frames of the same patch of sky into one. The random grain is different in every frame so it averages away, while the real detail is in the same place every time and stays. for free. The same Siril workflow that stacks deep-sky frames will stack a lunar sequence, and the principle is identical even though the settings are not. The difference is scale: a nebula might be thirty frames of five minutes, while the Moon might be two thousand frames of a five-hundredth of a second.
Where to go from here
The Moon will keep you busy for longer than you expect. It is not one target, it is a different landscape every few nights, because the terminator moves and the shadows fall somewhere new.
When you want to know what else is up and where to point next, start with navigating the night sky. When you want something the Moon cannot give you, the wide arch of the Milky Way is the natural next step, with a phone or a camera. And when you start wondering why the faint things are so much harder than the Moon was, the answer is in the Bortle scale.
But do the Moon first, on the next evening it is up. It is the only target that asks nothing of you except a clear sky, and you will learn more in that one session than in a week of reading about the others.