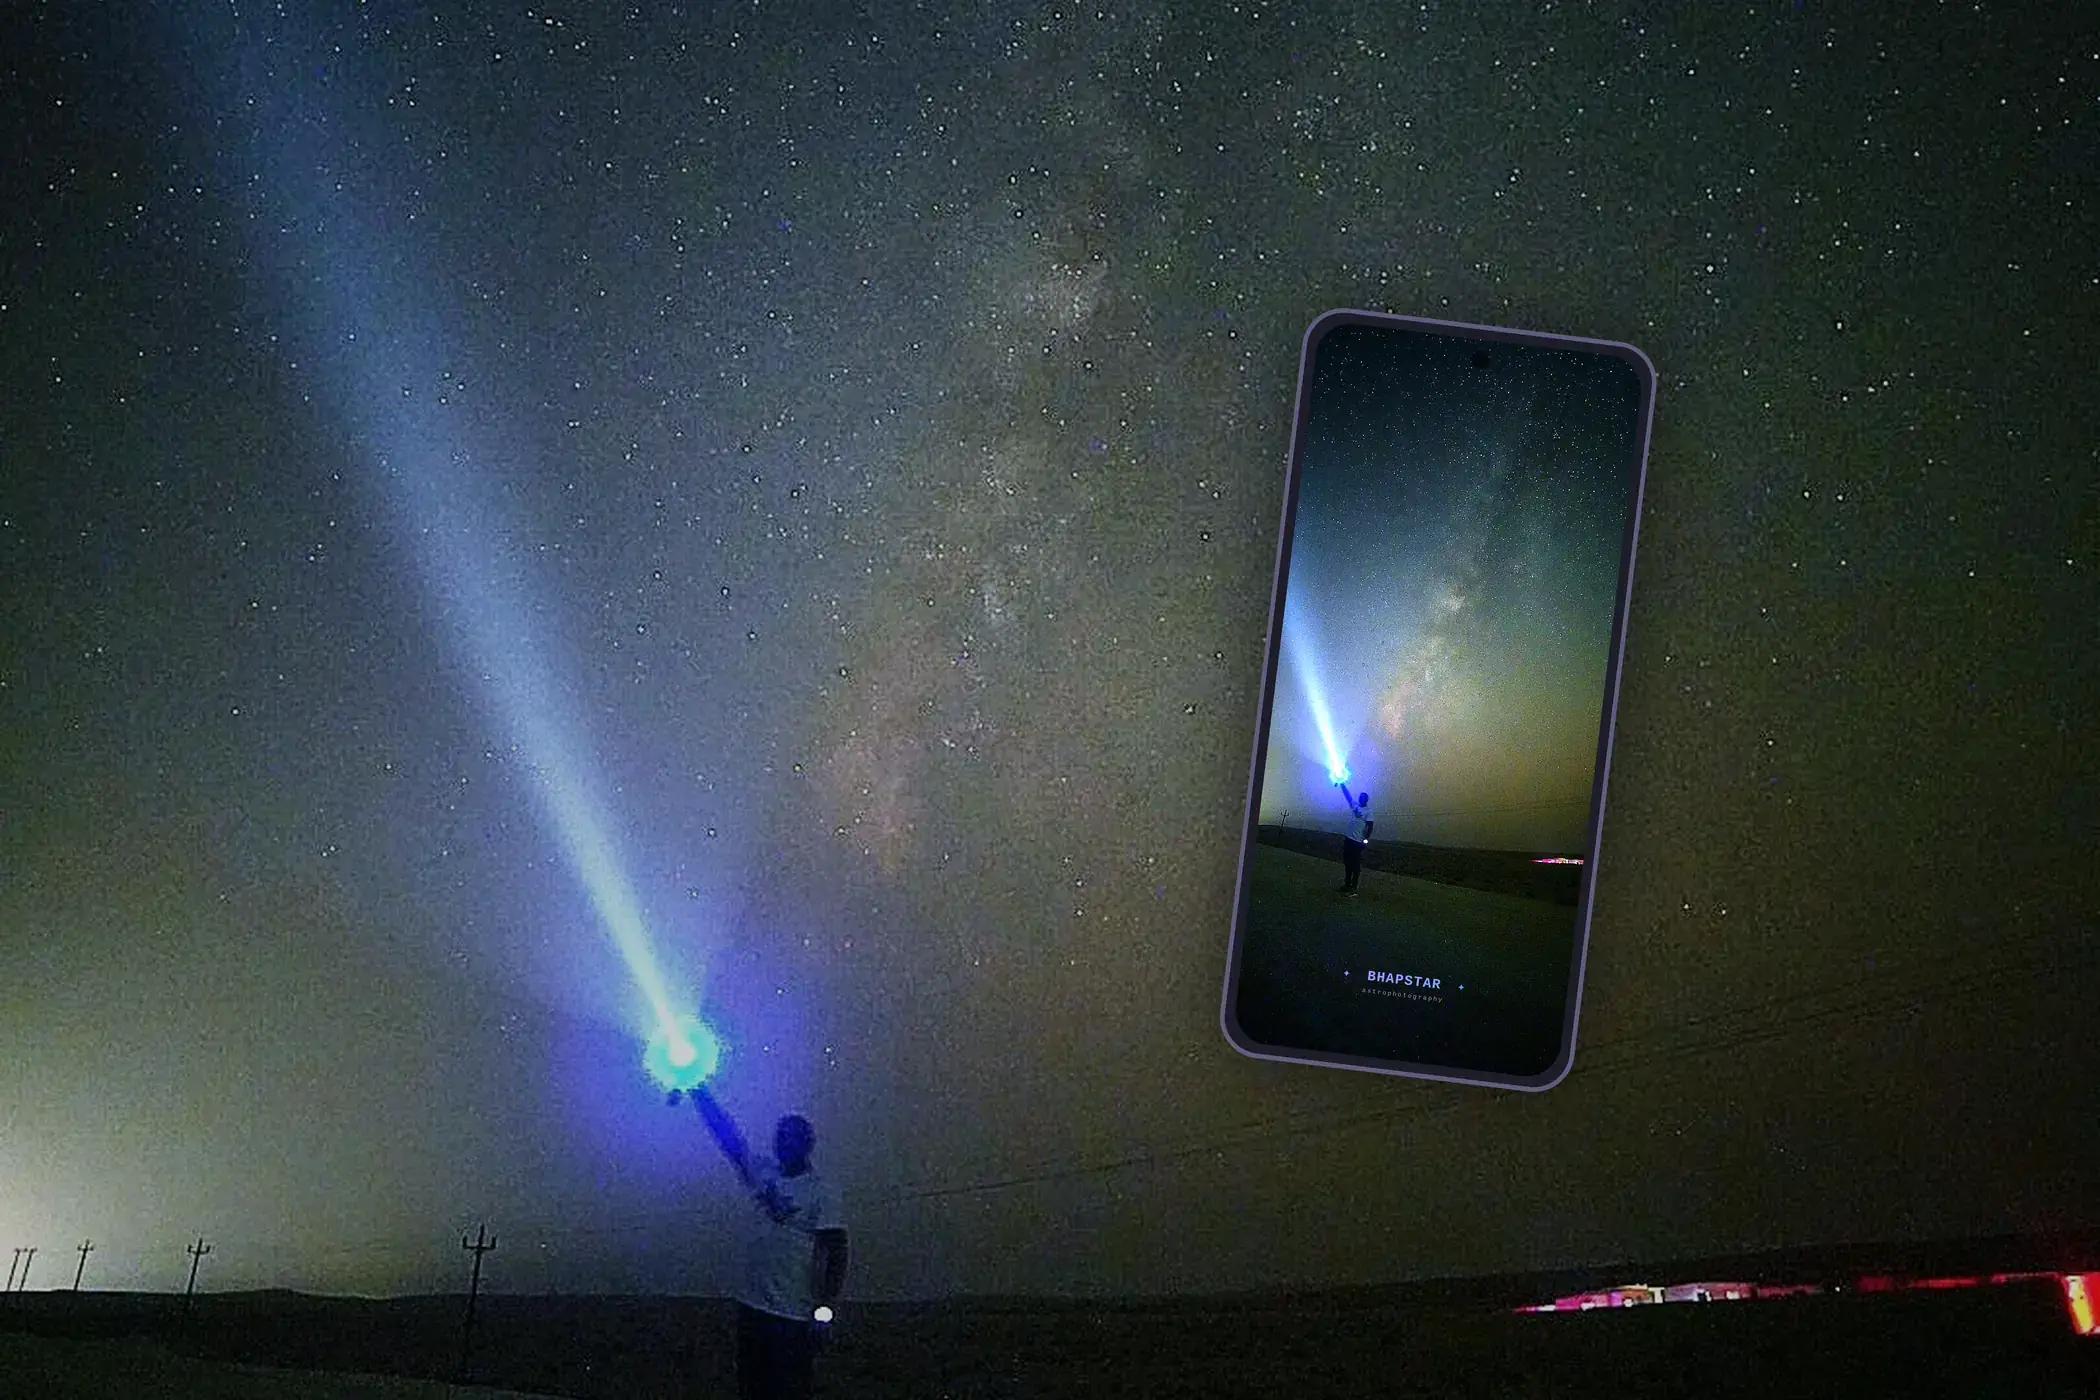
The short version
The camera in your pocket will photograph the Milky Way.
Not a smudge or a hint, but the bright core, the dust lanes and enough stars that people ask what you shot it with. Two things decide whether it works, and neither of them is the phone: something to hold it still, and a sky dark enough to be worth pointing at.
What you need
Almost nothing. A phone from the last few years, and the two things below. That is genuinely the whole list.
A tripod
Night photography works by holding the shutterHow long the camera collects light for one frame. Twenty seconds means the sensor is gathering light for twenty seconds before the frame is saved. open for several seconds, and anything you are holding in your hand moves during that time. A small tabletop tripod with a phone clamp costs very little and fits in a coat pocket.
There is a bonus that surprises people. Many phones will only offer their longest exposures once they are certain the phone is completely still. Put it on a tripod and the camera app quietly gives you settings you have never seen in it before.
A dark sky
This is the part worth planning around. From a city, the glow in the sky is brighter than the Milky Way itself, and no amount of editing recovers something the phone never saw. From a properly dark spot, the same phone in the same hands produces something you will want to print.
Dark is closer than most people assume. An hour or so out of most cities is usually enough, and the difference is dramatic rather than subtle. Check a light pollutionArtificial light from streets and buildings that scatters in the air and brightens the whole night sky, hiding everything faint. map, head away from the nearest town, and give your eyes twenty minutes to adjust once you arrive. The Milky Way often becomes visible to the naked eye while you are still setting up.
When and where to look
The bright part of the Milky Way, called the core, is a summer object if you are in the northern hemisphere. From roughly April to September it rises in the south-east after dark and arcs across the southern sky, sitting highest around the middle of the night in midsummer.
Any free stargazing app will show you exactly where it is from where you are standing, on the night you are standing there. Hold the phone up, find the core, point the camera at that patch of sky.
Then give the frame something to stand on. A rock, a dune ridge, a tree line, or a friend looking up. A photograph of nothing but sky is a record; the same sky above something recognisable is a picture. Because you will be shooting from one spot for a while, two minutes spent on this at the start pays for the whole session.
Settings, by phone
Find the right mode and the phone does the rest. Here is where it lives on each kind.
iPhone
There is no dedicated astro mode, but the route is short. Open the camera and use the main wide lens rather than the ultra-wide or the zoom, because it has the biggest sensor and lets in the most light. Put the phone on the tripod. The moon icon appears automatically in the dark.
On models up to the iPhone 16, an exposure slider then runs out to around 30 seconds once the phone knows it is not being held. Drag it to the maximum and tap the shutter.
On the iPhone 17 series that slider is gone. Night mode is now three settings, Off, Auto and Max, reached from the moon icon or the camera controls button. Auto will not give you a long exposure however still the phone is, so choose Max. Take your hands off and wait a few seconds before checking the number, because touching the phone resets it.
If your model offers ProRAW, turn it on. It records a file you can brighten properly afterwards, rather than a finished picture that has already decided what the sky should look like.
Google Pixel
The easiest option on any phone. Open the camera, switch to Night Sight, put the phone on the tripod and leave it alone. After a moment the mode relabels itself as astrophotography and offers an exposure of up to about four minutes, quietly taking many frames and combining them for you. Point it, press the button, walk away.
Samsung Galaxy
The Pro mode in the normal camera gives you a manual shutter up to 30 seconds, which is plenty. But Samsung also has a proper astrophotography mode, and it is hidden.
It lives in Expert RAWThe camera's unprocessed file, holding everything the sensor recorded. A JPEG throws most of that away, and you need it when you come to brighten a very dark picture., a free download from the Galaxy Store rather than something already installed. Open Expert RAW, tap the settings icon, and turn on Special photo options. An astrophotography icon then appears on the shooting screen. It only shows at 12MP resolution, so if you cannot find it, check that first. Samsung lists the mode as supported on the S22 and S23 series onwards.
Inside it you set how long to shoot for and the phone combines the frames itself. There is also a Sky Guide overlay that draws the constellations over the live preview, which is genuinely useful when you are standing in the dark trying to work out which way to point.
Other Android phones
Most have a Pro mode somewhere in the camera app, and 30 seconds is plenty. Several makers have added their own night modes worth hunting for. It is worth spending ten minutes going through every mode in your camera app before deciding your phone cannot do this, because the useful one is rarely on the front screen.
If you have a Pro mode
Manual control is a step up, though not a large one. These are sensible numbers to start from, and you can adjust from there.
Two of those matter more than the rest. Focus is the step most people skip: autofocusA programmed routine through an Electronic Automatic Focuser that refocuses the telescope as the temperature drifts through the night, or at set timed intervals. has nothing to lock onto in the dark, so slide it all the way to infinity by hand. And push the ISOHow strongly the camera amplifies the light it has collected. A higher number makes a dark scene look brighter, but it also makes the picture grainier, so you use the lowest number that still shows the sky. up until the sky looks grey rather than black on screen, then back off one step.
A few things that make a real difference
- Clean the lens. A fingerprint you would never notice by day turns every bright star into a smeared halo. Ten seconds with a cloth is the cheapest improvement available.
- Use the main camera, not the ultra-wide. The ultra-wide is tempting because it covers more sky, but it has the smallest sensor and gathers the least light.
- Turn your screen brightness down. Your eyes take about twenty minutes to adapt to the dark and a bright screen undoes that in a second, for you and for anyone sitting near you.
- Bring a power bank. Long exposures drain a phone quickly, and a spare charge is the difference between stopping at midnight and staying for the best hours.
- Watch for dewWater that condenses out of the air onto cold glass overnight and quietly fogs everything. A small heater strip or a cloth hood keeps it off.. On a humid night condensation creeps onto the lens gradually. If everything suddenly looks soft, give it a wipe and carry on.
Timelapses and star trails
If you leave the phone running for an hour you get two more things for free, and neither of them needs an app you do not already have.
A star trailA picture where the stars are drawn as long arcs rather than points, made by leaving the shutter open, or by stacking a long run of frames end to end. is that hour drawn as a single picture, with the stars tracing curved lines as the Earth turns. Some Samsung phones do it in one step: switch to Hyperlapse, set the speed to 300x, and a star trails toggle appears. Several other makers hide something similar inside their own night modes, so it is worth going through every mode in the camera app before deciding your phone cannot do it.
A timelapse is the same hour played back as video instead. Hyperlapse on a Samsung, or the Time-lapse mode on an iPhone, will do this on their own, though both work best once the phone is already on a tripod and knows it is not being held.
Two things are worth knowing before you start. The first is that timelapses are hungry: video plays back at around 25 frames a second, so a satisfying ten second clip needs a few hundred separate exposures, which is an hour or two of real time. The second is to leave the phone completely alone once it is running. Picking it up to check on it ends the sequence, and there is no way to join the two halves back together afterwards.
Bring a power bank if you plan to do this. An hour of continuous exposures will take a serious bite out of a phone battery, and the best hours are usually the late ones.
Editing afterwards
Edit on the phone itself, which is more than good enough. Lift the shadows, pull the highlights down, add a little contrast, and lower the temperature slider until the sky looks neutral rather than orange. If you shot RAW there is far more room in the file than you expect, and the core usually appears with one gentle push of the shadows.
Keep it restrained. A slightly dark, clean sky looks better than a bright, noisy one.
Nothing here changes if a meteor shower happens to be on. The setup above already photographs them, and every frame you take is a chance at catching one. There is more on which showers are worth staying up for, and which way to point, in the meteor shower guide.
And when you want to go further than the phone can take you, the camera version of this guide covers the next step.